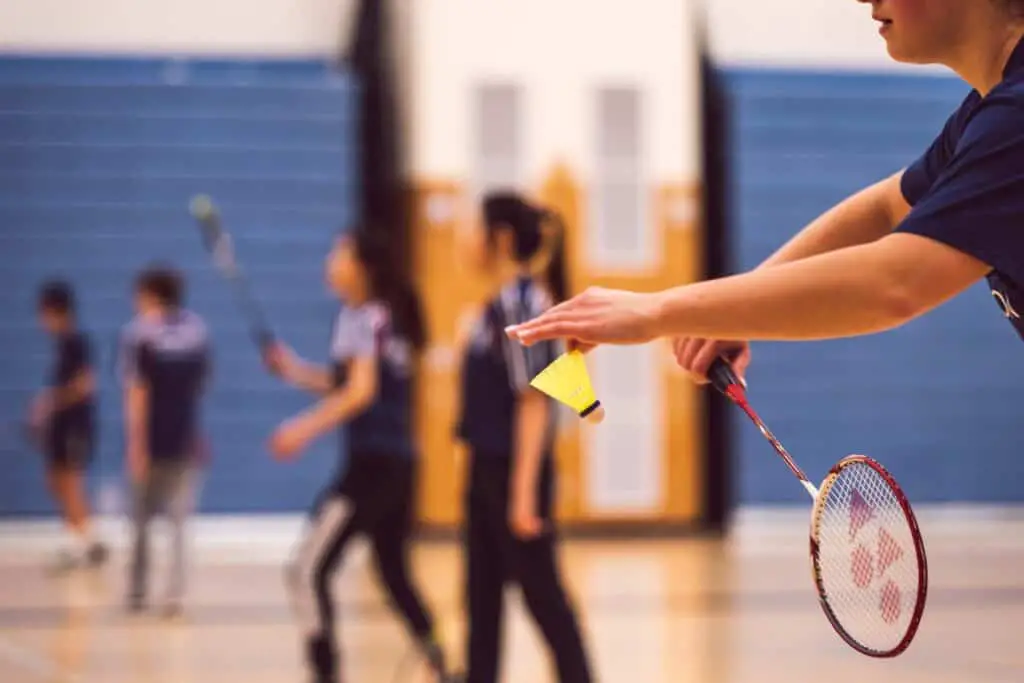
A net kill in badminton is simply hitting the shuttle down to your opponent’s court from the net area.
A net kill is not the same as a smash in badminton. In comparison to the traditional badminton smash, the net kill is much faster to execute and does not require much preloading time. The badminton smash technique necessitates more time for preparation and preloading. As a result, performing the classic smash around the net area will be too slow.

As a result, whenever an opportunity arises on the internet, you use the NET KILL technique.
Forehand net kill
Any net kill performed with a forehand grip is referred to as a forehand net kill. On the racket side of the court, these are the shots. If you’re right-handed, your racket side is whatever is on the right side of your court. As a result, anything on the racket side should be considered a forehand net kill.
Backhand net kill
Any net kill performed with a backhand grip is referred to as a backhand net kill. On the non-racket side of the court, these are the shots. If you’re a right-handed player, your non-racket side is the left side of your court. As a result, any action on the non-racket side should be considered a backhand net kill.
It is preferable to perform a backhand net kill on shuttles that travel to the center of the court because it is a more difficult shot to execute and control.
What is a net kill and how do you do it?
To perform a net kill, you must have a significant advantage over your opponent and be confident that you can finish the rally with that shot. Why? Because if you do it, you’ll leave the entire court exposed, and you’ll have a hard time reaching it if your opponent returns the shot.
This is less of an issue in doubles because your partner can cover you, but it is a major issue in singles. Let’s take a look at how you can execute this shot with that in mind.
How to perform a forehand net kill
Step 1: Get into a ready position
You must get your ready position right. You should be near or slightly ahead of the front service line. There are two different ready positions for the backhand net kill.
- When playing doubles, you usually turn your entire body to face the side of your court rather than the other court. Have your racket leg forward and your non-racket leg backward as you rotate your body.
- When playing singles, you should keep your body facing the other court and move your non-racket leg forward while keeping your racket leg backward.
- With the racket pointing toward the net, raise your racket arm until your hand is roughly the same height as your shoulder.
- Your non-racket arm should also be raised in a position that allows you to speed up the second step.

Step 2: Hurry up to the shuttle
It’s time to jump towards the shuttle once your opponent has hit it and you think you’ll be able to reach it in time for a net kill. The purpose of jumping is to get to the shuttle as quickly as possible while it is still over the net, allowing you to send it in a downward trajectory. That is why your center position must be as close to the net as possible.
You’ll jump with both feet to get to the shuttle, but the foot that’s a little further back (the non-racket foot) will do the most work. You can also bring your non-racket arm towards the back to help with the inertia.
In preparation for the shot, you will raise the racket arm and racket a little higher while jumping.
Step 3 – Using a quick hand movement, strike the shuttle
This is the most difficult part. Before you hit the shuttle, make sure the racket head is facing it, and then hit it with a “tap” movement that primarily involves your fingers.
You should land on your feet at the same time as you hit the shuttle, with your racket leg in front and your non-racket leg in the back.

How to perform a backhand net kill
Step 1 – Get into ready position
It’s critical that you get your ready position right. You should be near or slightly ahead of the front service line. There are two different ready positions for the backhand net kill.
When playing doubles, you usually turn your entire body to face the side of your court rather than the other court. Have your racket leg forward and your non-racket leg backward as you rotate your body.
When playing singles, you should keep your body facing the other court and move your non-racket leg forward while keeping your racket leg backward.
Step 2: Hurry up to the shuttle
It’s time to jump towards the shuttle once your opponent has hit it and you think you’ll be able to reach it in time for a net kill.
If you’re playing doubles, you’ll jump with both feet, but the one that’s a little further back (the non-racket foot) will put in the most effort. You can also bring your non-racket arm towards the back to help with the inertia.
When playing singles, you will also jump with both feet, but you will need to rotate your upper body while jumping and bring your racket leg forward so that you land in the same position as when playing doubles.
In preparation for the shot, you will raise the racket arm and racket a little higher while jumping.
Please keep in mind that this distinction between singles and doubles is not perfect. If you’re playing singles and you hit a net shot with your backhand and see that your opponent won’t be able to reach it, you can put yourself in the “doubles” ready position. Because there’s a good chance your opponent will respond with a parallel net shot, this is a good idea. If not, you will have time to react due to the position in which he or she will reach the shuttle.
Step 3 – Using a quick hand movement, strike the shuttle.
This is the most difficult part. Before you hit the shuttle, make sure the racket head is facing it, and then hit it with a “tap” movement that primarily involves your fingers.
You should land on your feet at the same time as you hit the shuttle, with your racket leg in front and your non-racket leg in the back.

When Should You Use a Net Kill?
When your opponent returns a weak net shot, you usually perform a badminton net kill. The shuttle flies/tumbles high across the badminton net with a weak net shot. When the opportunity presents itself, dash forward to complete the net kill!
How to Make a Quick Attack
You must be able to react quickly and strike the shuttle at the highest point possible to perform a good net kill.
Here are a few pointers to help you strike quickly.
- Badminton net stance: Every time you perform a tumbling net shot, take a step backwards until you’re roughly ON the service line, then take the net stance. The net stance allows you to quickly perform the net kill. DASH FORWARD and sweep the shuttle downwards if your opponent returns a weak net shot.
- Position your racket: When you’re waiting for a weak net return, position your racket in front of your body.
- Non-racket arm: Maintain body balance by using your non-racket arm. When you dash forward too quickly, you risk losing your body balance, which is dangerous. When performing the net kill technique, extend your non-racket arm slightly to balance yourself.
A net kill after a net shot can be accomplished in a variety of ways. After hitting a tumbling net shot, I’ll show you how to perform the badminton net kill in this tutorial. When your opponent returns a weak tumbling net shot, you have the opportunity to do a net kill.
Important Advice/Suggestions
- React quickly: The ability to strike quickly is crucial.
- After you’ve completed a tumbling net shot, switch to the badminton net stance: This enables you to leap forward as soon as an opportunity presents itself.
- Take the shuttle to the highest possible point: Take the shuttle as soon as it arrives on your side of the court.
- Avoid fouls at all costs: Make sure you only hit the shuttle after it has flown past the net to your side, and that your racket does not come into contact with the net.
- The net kill in badminton is not a smash! DO NOT swing your arms fully or rotate your wrist. If you do so, it will be too slow.
- Allow for a quick follow-up: This allows for more natural movement while also maintaining body balance.
- Maintain body balance: by using your non-racket arm.